Let’s get one thing straight: Overlanding isn’t about Instagram-worthy rooftop tents or $500 coolers. It’s about adventure, resourcefulness, and the thrill of discovering dirt roads your GPS swears don’t exist. I learned this the hard way when I cobbled together my first overlanding rig using a 20-year-old SUV, duct tape, and sheer stubbornness. Turns out, you don’t need deep pockets—just creativity and a willingness to prioritize.
Here’s how to build a barebones (but totally functional) overlanding setup for under $500.
Step 1: Vehicle Essentials ($150)
(Because getting stuck alone sucks.)
1. Recovery Gear ($80)
- Tow Strap & Shackles ($40): Amazon Basics Tow Strap (20,000 lb capacity).
- Collapsible Shovel ($30): Dig yourself out of mud, snow, or existential dread.
- DIY Traction Boards ($10): Cut old floor mats into strips or grab a bag of kitty litter for traction.
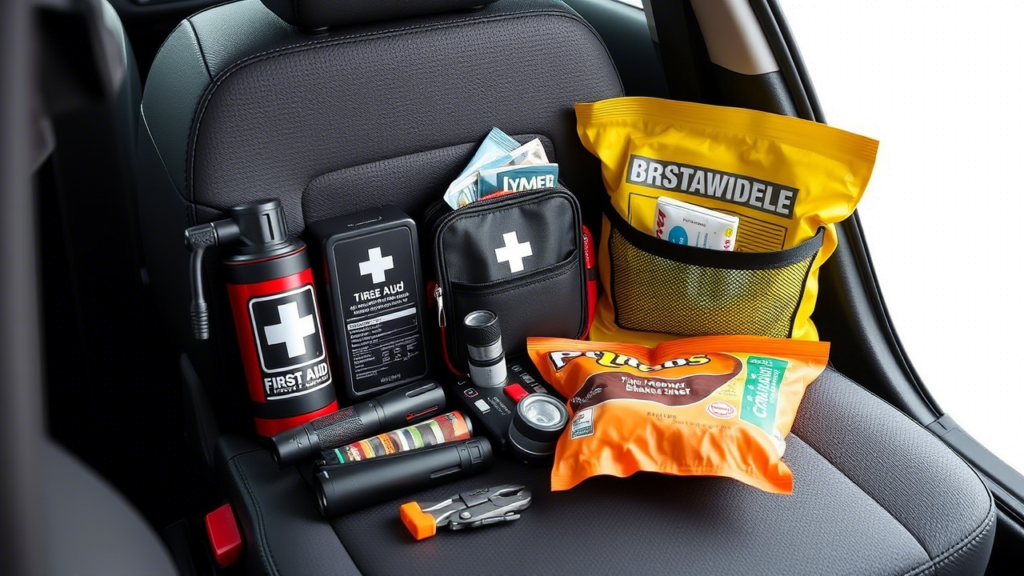
2. Safety Basics ($70)
- Fire Extinguisher ($25): A must-have. ABC-rated, mounted within reach.
- Jumper Cables ($20): Harbor Freight has reliable options.
- Basic Tool Kit ($25): Wrenches, screwdrivers, and zip ties from Dollar Tree.
Step 2: Sleep Like a (Thrifty) King ($120)
(No, you won’t be glamping.)
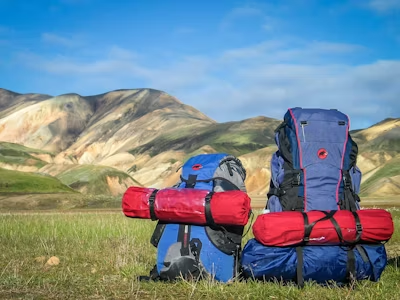
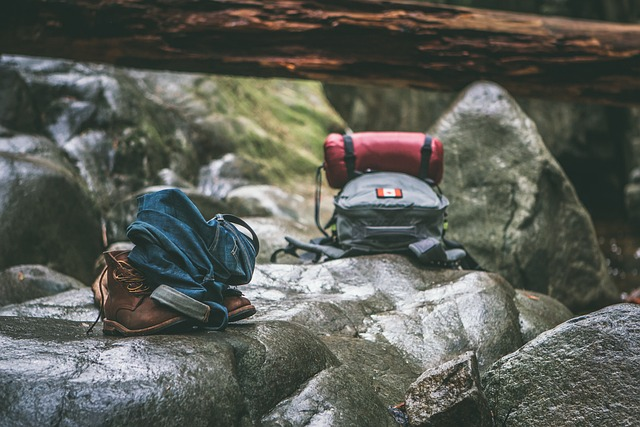
1. Shelter ($60)
- Tent ($50): Look for a used Coleman Sundome on Facebook Marketplace.
- Tarp ($10): Extra rain protection or a groundsheet.
2. Bedding ($60)
- Sleeping Bag ($30): Walmart’s Ozark Trail bags work down to 30°F.
- Sleeping Pad ($20): Foam pads from Thermarest or a yoga mat.
- Pillow ($10): Stuff a sweatshirt into a stuff sack.
Step 3: Eat Like You’re Not Broke ($80)

(Ramen optional, but highly relatable.)
1. Cooking Gear ($50)
- Camp Stove ($25): Coleman Classic Propane Stove.
- Fuel Canister ($10): Lasts 1-2 weekends.
- Cookware ($15): Thrift store pot + spatula.
2. Food Storage ($30)
- Cooler ($25): Igloo Walmart Special (ice lasts 1 day—plan accordingly).
- Dry Food Bin ($5): Repurpose a plastic tote.
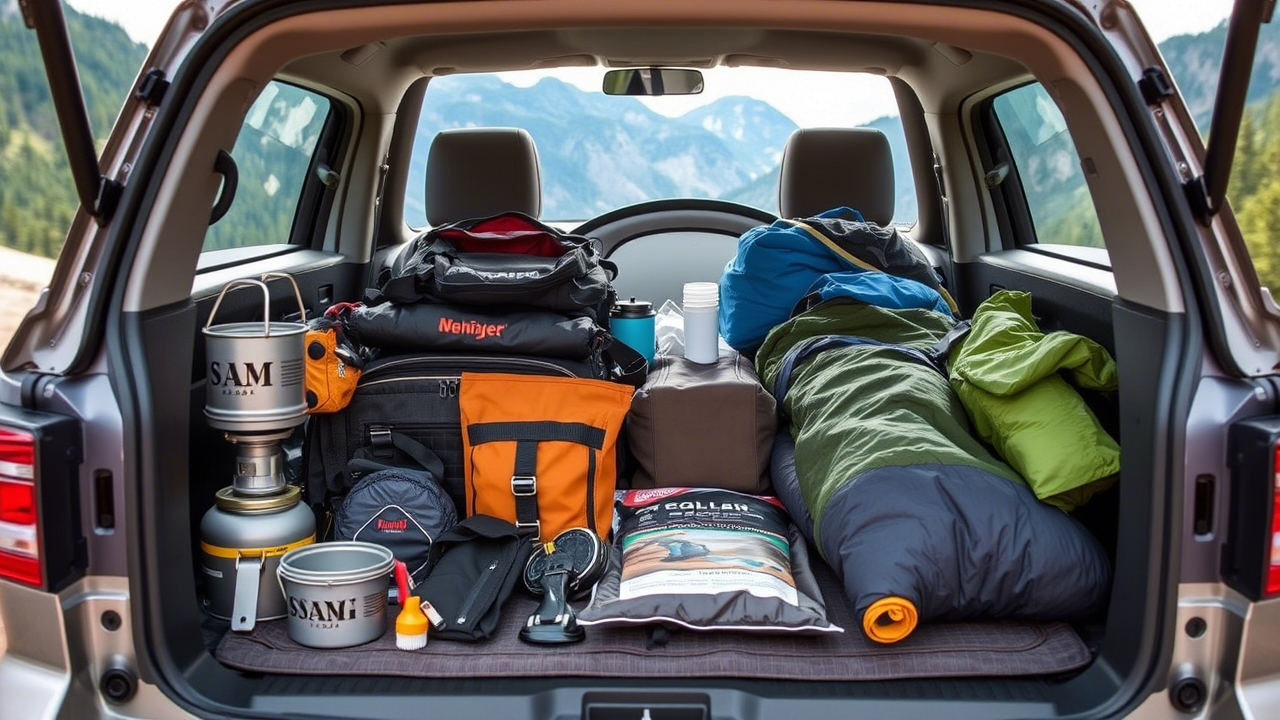
Step 4: Storage & Organization ($70)
(Chaos management 101.)
- Plastic Bins ($20): Organize gear into “Kitchen,” “Tools,” and “Misc. Regrets.”
- Ratchet Straps ($15): Secure bins to prevent “trunk avalanches.”
- Bungee Cords ($10): For strapping firewood, tarps, or questionable decisions.
- DIY Overhead Storage ($25): Use a cargo net or old shelving.
Step 5: The Extras ($80)
(Because mood lighting > breakdowns.)
- LED Lantern ($15): Amazon Basics for 12-hour glow.
- First Aid Kit ($20): Don’t skip the tourniquet.
- Navigation ($0): Download Gaia GPS (free trial) or use Maps.me.
- Power Bank ($25): Charge phones when your rig’s battery is sus.
- Duct Tape ($10): Fixes tents, hoses, and shattered dreams.
Pro Tips to Stretch Your Budget
- Buy Used: Scout Facebook Marketplace for tents, stoves, and tools.
- Borrow Gear: Your uncle’s old camping gear > collecting dust.
- DIY Everything: Build a roof rack from lumber or repurpose milk crates for storage.
- Prioritize Safety: Never cheap out on recovery gear or first aid.
Real-Life Budget Setup Example
Here’s how I spent my $500 during a 3-day trip to Utah’s backcountry:
- Recovery Gear: $80 (shovel, straps, fire extinguisher)
- Sleep System: $60 (used tent + Walmart bag)
- Food & Cooking: $70 (stove, cooler, canned chili)
- Extras: $40 (lantern, first aid, duct tape)
- The Rest: $250 went to gas and beef jerky.
Final Thought: Adventure > Gear
The best overlanding rig isn’t the one with the most gadgets—it’s the one that gets you out there. Start small, upgrade slowly, and remember: Some of my best memories happened in a rig held together by bungee cords and optimism.
Your Turn: What’s your favorite budget overlanding hack? Share it below—bonus points if it involves duct tape!